⚠️ You are viewing documentation for version: v1.7
Beagle v1.7 is no longer actively maintained. The documented version you are viewing may contain deprecated functionality. For up-to-date documentation, see the latest version .
IOS
How to display a “Hello Beagle!” screen
After you installed Beagle on your project, we’ll show how to render a screen and display your first “Hello Beagle!".
Currently, there are two types of approaches to render screens with Beagle: remote and declarative.
Remote Renderization
Main approach used on Beagle because it’s based on server-driven UI concept. It allows you to build layouts dynamically, consuming the informations provided by a BFF through a remote URL.
Declarative Renderization
Even if it’s an alternative not based on server-driven UI, this renderization is a way you can locally state componentes with Swift language. With this, you can use a local component directly or through a JSON that represents it, simulating a response from BFF.
For this example, you will render a screen with declarative way, which means that all the processes will be done locally because, on this way, you’ll know a little bit about Beagle and, in a few steps, test if your installation worked.
Step 1: Create a class (MyBeagleScreen)
Create a class and name it as you wish. Here, we’ll call it MyBeagleScreen.
The class will have only one method responsible to build a Screen.
import Beagle

class MyBeagleScreen {
    static func make() -> Screen {
        return Screen(
            child: Container(
                children: [
                    Text("Hello Beagle!")
                ]
            ).applyFlex(
                Flex(
                    justifyContent: .center,
                    alignItems: .center,
                    grow: 1
                )
            )
        )
    }
}
Screen is being build using Flex. To understand better these components and your proprieties, go to the section component’s layout.Step 2: Instantiate BeagleScreenViewController
Now it’s time to display your first screen built using Beagle, and to do so you must:
Instantiate a BeagleScreenViewController with declarative type that will receive a MyBeagleScreen.
let beagleViewController = Beagle.screen(
    .declarative(
        MyBeagleScreen.make()
    )
)
remote type, check out how to display a server-driven screen.Once you made it, you just have to present it as you wish.
present(beagleViewController, animated: true, completion: nil)
import Beagle.Step 3: Run the application
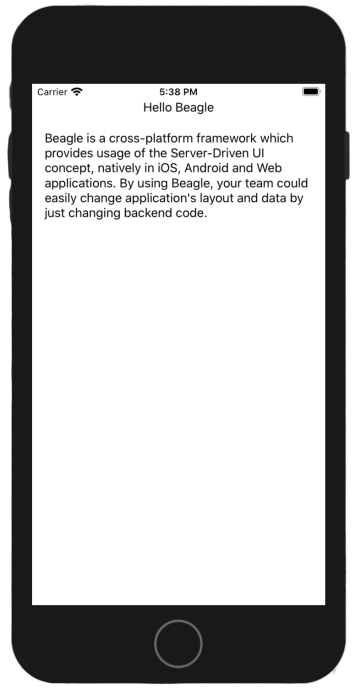
Now, run your application and, if everything works well, you will see a screen like this:
Next steps
On this section, you saw how to create your first declarative screen using Beagle, on your simplest way, without entering on the server-driven UI concept.
👉To understand more about how to configure Beagle and use it applying server-driven UI, check out how to create an iOS project from scratch.
Feedback
Was this page helpful?
Glad to hear it! Please tell us how we can improve.
Sorry to hear that. Please tell us how we can improve.