Create a project from scratch
Starting a Backend project
In this tutorial, a Backend will be implemented with Beagle so it can respond to requests from your server-driven application, it can be on Android, iOS, or WEB.
Recommended
To create a Beagle project for the backend, we recommend:
- Intelij Community IDEA
Step 1: Configure using Spring initializr
Access Spring website and create a Maven project that will help your project’s configuration.

Spring configuration
Follow the steps to configure:
- Choose
Mavenas your project option; - Check
kotlinas a language; - Choose the initial version bigger than 2.1.
- Group is the name it will be used as a hierarchy in the beginning. For this example, it can be com.example;
- Artifact is the project’s name. You will name it BFF;
- Description contains a simple description of the project; Packaging must be checked as JAR;
- Java must be chosen as the java version of your system;
- Click on
generateand it will download your project as.zip; - Extract the file in your chosen folder.
Step 2: Import your project to Intellij
Follow the steps below to import the project you have created. First, open intellij and click on Import project.

- Choose the file where you put your
Spring projectand clickok. - Click on Import projects from external model and choose
Mavenand then, click finish.

Configuring Beagle
Step 1: Configure the project
As a starting point, follow this step by step to install the backend.
Step 2: Define the structure
The second step is to create some packages to better organize the project. They will be named: builder, service and controller
- Click
src> main> kotlinuntil you find the name of your project; - Right-click
new> package; - Name it
builderand press enter; - Repeat the process of creating the other two packages, naming them
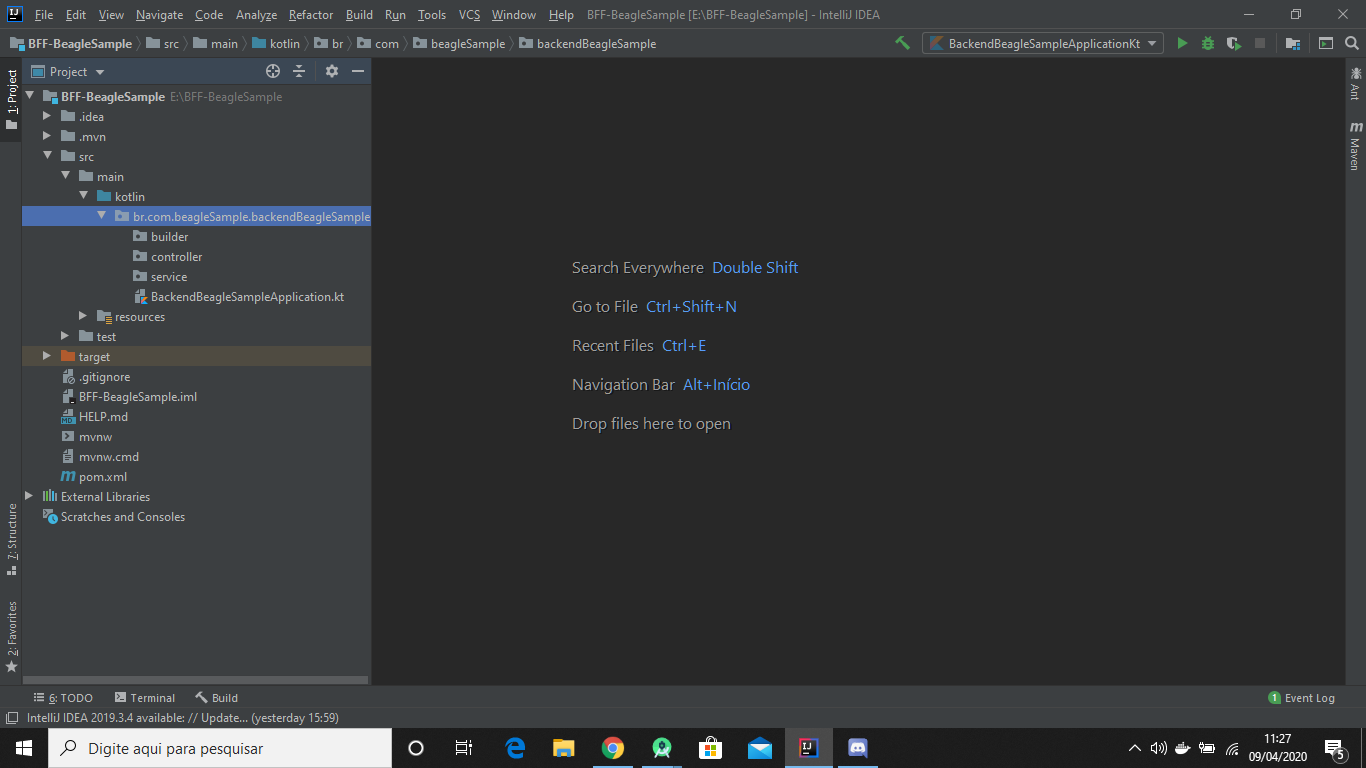
serviceandcontroller; - After creating the packages, your screen should look like this:
Step 3: Create the application service
The first class you will create is the Builder. Here in this file, the Server-Driven screen must be structured:
- Right-click the builder package and click
new> Kotlin File / Classand name itScreenBeagleBuilder; - This class must extend from
ScreenBuilder(which is an internal Beagle class); - Note that it will replace the
build methodand this is where the Server-Driven screen will be implemented; - In this step, you can copy and paste the code below into your class:
object ScreenBeagleBuilder : ScreenBuilder {
    override fun build() = Screen(
        child = Container(
            children = listOf(
                    text = "Hello Beagle!",
                    styleId = "Title.Text.Orange"
                ).setStyle {
                    margin = EdgeValue.only(top = 16)
                }.setFlex {
                    alignSelf = AlignSelf.CENTER
                },
                Text(
                    text = "Beagle is a cross-platform framework which provides usage of the " +
                        "Server-Driven UI concept, natively in iOS, Android and Web applications. " +
                        "By using Beagle, your team could easily change application's layout and" +
                        " data by just changing backend code.",
                    styleId = "Description.Text.Orange"
                ).setStyle {
                    margin = EdgeValue.only(top = 20, left = 16, right = 16)
                }
            )
        )
    )
}
The next class you will create is Service:
- Right-click the service package and click
New> Kotlin File / Class; - Name it
ScreenBeagleService. This class must be annotated with@Service, which is a Spring annotation; - Implement a method called
createScreenBeaglethat returns theScreenBeagleBuilderclass:
import com.example.bff.builder.ScreenBeagleBuilder
import org.springframework.stereotype.Service

@Service
class ScreenBeagleService {
  fun createScreenBeagle() = ScreenBeagleBuilder
}
And then the Controller class.
- In the controller package, create a class and name it
ScreenController. It must be annotated with@RestControllerto expose its components through the Rest API; - It will receive a
ScreenBeagleServicethrough its main builder, so Spring can inject it for you; - Create your class as in the example below:
import com.example.bff.service.ScreenBeagleService
import org.springframework.web.bind.annotation.GetMapping
import org.springframework.web.bind.annotation.RestController

@RestController
class ScreenController(
        private val screenBeagleService: ScreenBeagleService
) {
    @GetMapping("/screen")
    fun getFirstScreen() = screenBeagleService.createScreenBeagle()
}
- The
@RestControllerannotation defines this class as a controller class; - The
screenBeagleServiceparameter must have its type defined as:ScreenBeagleService; - The
getScreenmethod needs to annotate@ GetMapping ("/ screen")to create the"/ screen"path in the application’s URL and receive the result of thecreateScreenBeaglefunction;
The backend is ready to serve as the BFF of your Server-Driven application.
Initializing the application
Now it’s time to start your application, follow the next steps:
Step 1: Run the project
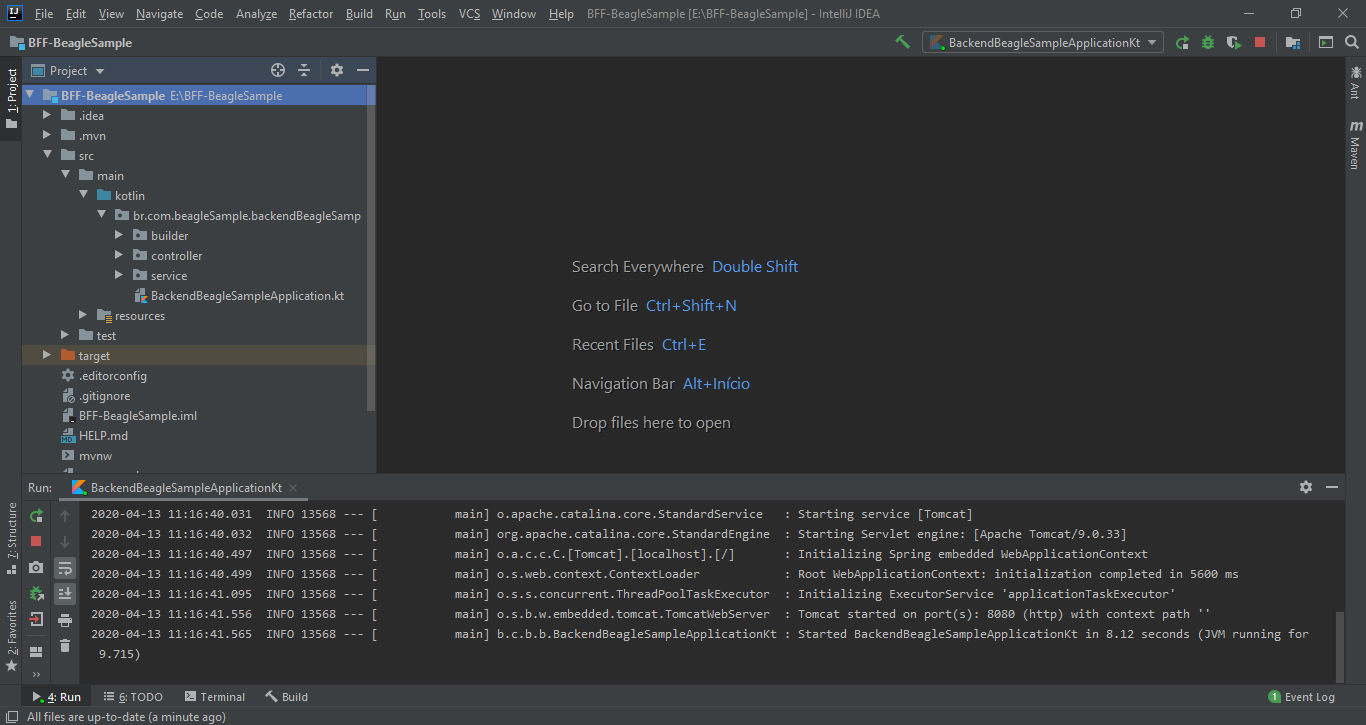
Click on the green triangle named run, or press and hold SHIFT + F10 to run your back-end application.
Your screen should look like this:
Step 2: Make a request
Open your browser and type: localhost: 8080 / screen
A JSON structure must appear on your screen similar to the structure below:
{
   "_beagleComponent_":"beagle:screenComponent",
   "child":{
      "_beagleComponent_":"beagle:container",
      "children":[
         {
            "_beagleComponent_":"beagle:text",
            "text":"Hello Beagle!",
            "style":{
               "cornerRadius":{},
               "size":{},
               "margin":{
                  "top":{
                     "value":16,
                     "type":"REAL"
                  }
               },
               "flex":{
                  "alignSelf":"CENTER"
               }
            }
         },
         {
            "_beagleComponent_":"beagle:text",
            "text":"Beagle is a cross-platform framework which provides usage of the Server-Driven UI concept, natively in iOS, Android and Web applications. By using Beagle, your team could easily change application's layout and data by just changing backend code.",
            "style":{
               "cornerRadius":{},
               "size":{},
               "margin":{
                  "left":{
                     "value":16,
                     "type":"REAL"
                  },
                  "top":{
                     "value":20,
                     "type":"REAL"
                  },
                  "right":{
                     "value":16,
                     "type":"REAL"
                  }
               },
               "flex":{

               }
            }
         }
      ]
   }
}
Step 3: Check the process
If that is not the answer you had, it is necessary to check the configuration process again. Go back to the previous steps and start with the classes that have the biggest mistakes when configured for the first time.
If you prefer, take the finished project from Beagle’s repository and compare it with yours. You can access the ** repository.**
To learn more about configuring your frontend environment, check out more:
👉 Beagle implementation tutorial for Android.
👉Beagle implementation tutorial for iOS.
👉Beagle implementation tutorial for Web.
Feedback
Was this page helpful?
Glad to hear it! Please tell us how we can improve.
Sorry to hear that. Please tell us how we can improve.