Adding a Server-Driven component
It is possible to receive only a few server-driven screen components from a BFF and not an complete screen; receive only one section of an page, or even a single component.
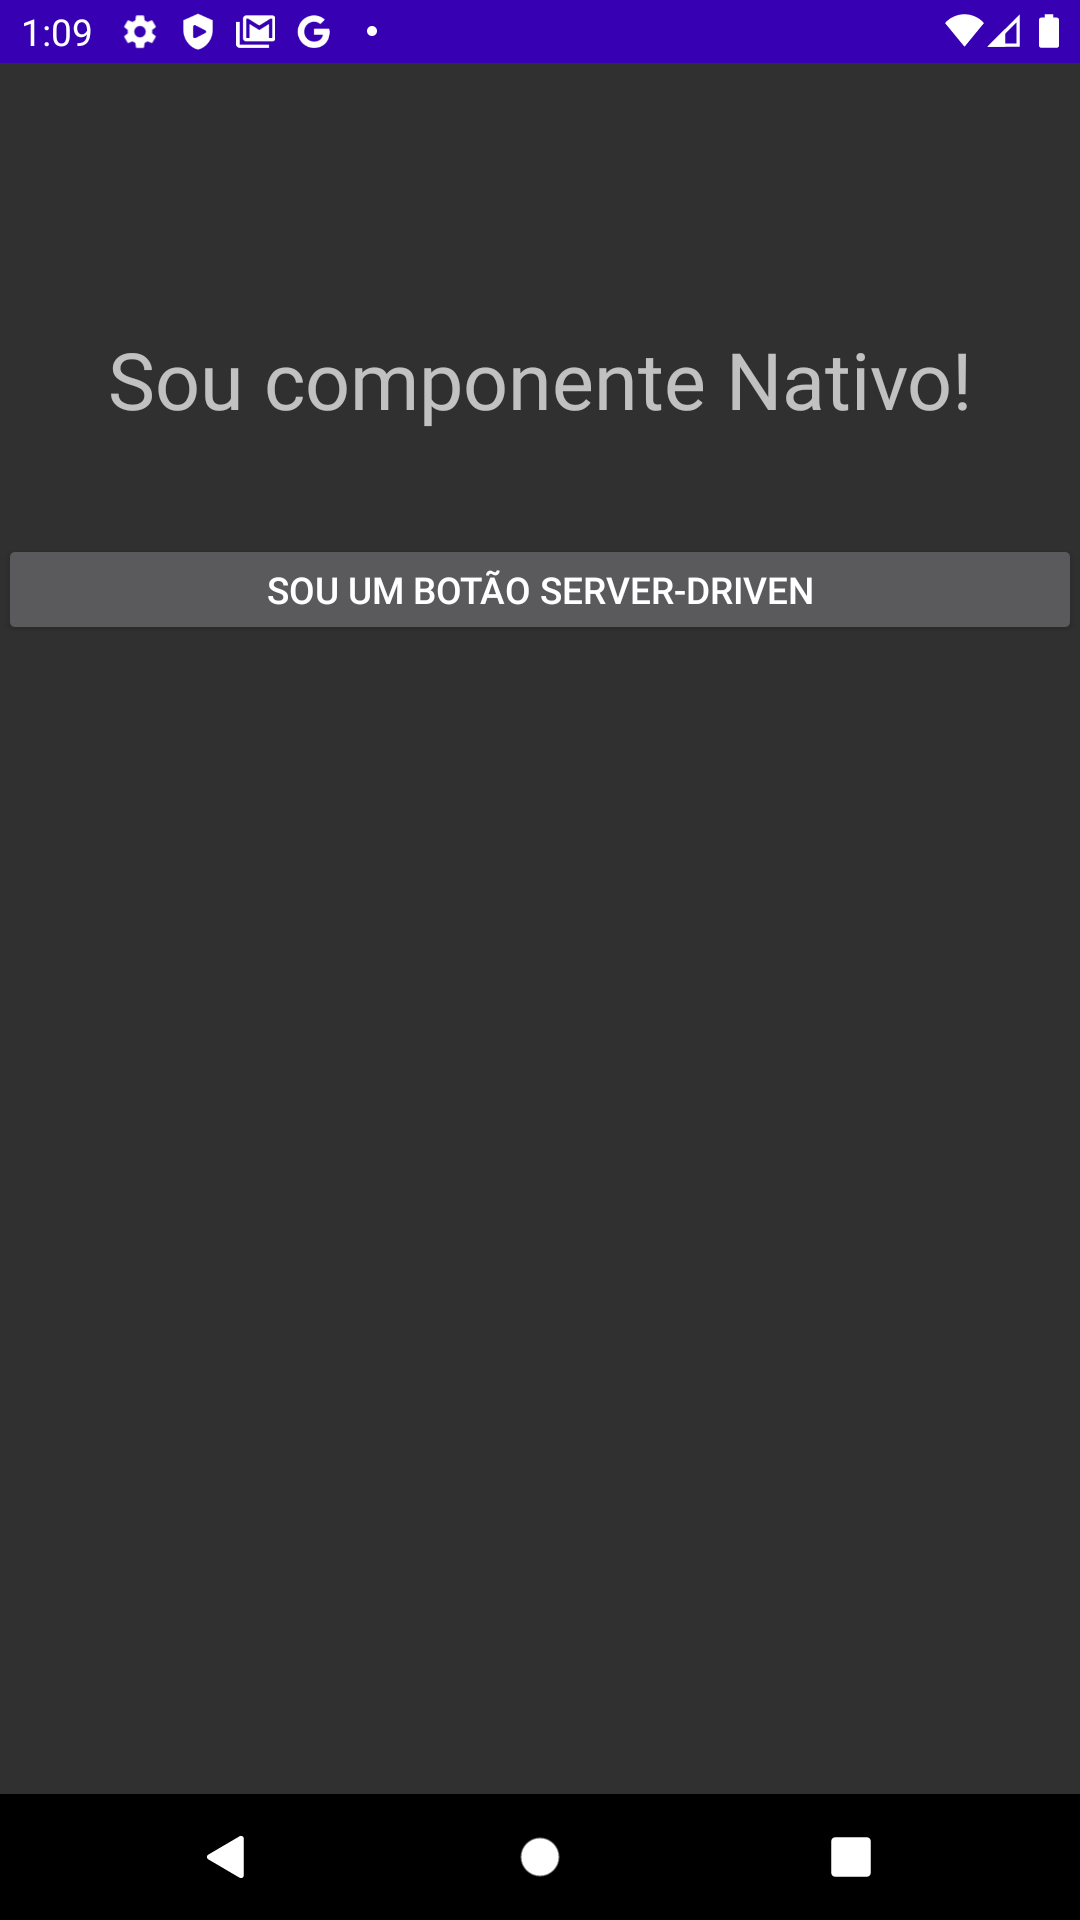
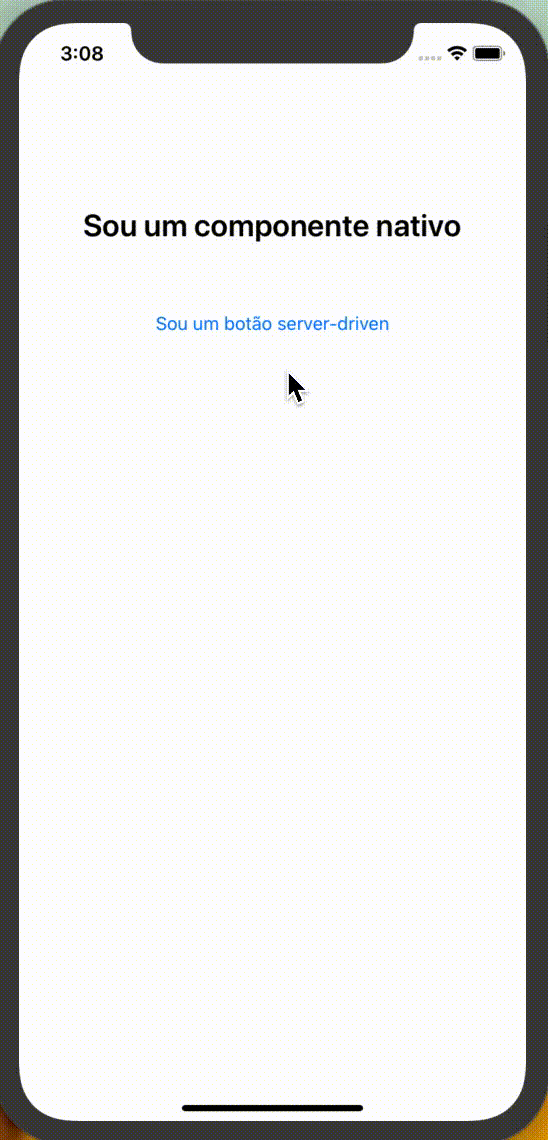
The example below displays a server-driven button on a native Android screen. The result should appear in your application:
Prerequisites
For this setting to work correctly, you need:
- A BFF(Backend) configured with Beagle. If you don’t have it, see how to configure it in this tutorial.
- A Beagle-configured frontend for Android. If you don’t have it, follow the tutorial to set up a project Android
Step 1: Create the component in the backend
This example is to create a button as a server-driven component, you can display it on a native screen.
To do this, follow the steps below:
- Create a Kotlin class in your backend.
- Name it
SingleComponentBuilder. This will be the class that will build your server-driven (object) component. - Once that’s done, copy and paste the code below.
import br.com.zup.beagle.widget.action.Alert
import br.com.zup.beagle.widget.ui.Button

class SingleComponentBuilder() {

  fun createButton(): Button {
    return Button(
        "I'm a server-based button",
        onPress = listOf(
            Alert(
                "Server-driven Button",
                "I'm a server-based button",
                labelOk = "OoooK"
            )
        )
    )
  }
}
"Alert" type Action, that was already implemented above.Step 2: Update the Service and Controller class in the backend
Once you’ve created the component, you’ll need to update 2 other classes in your backend. The Service and Controller classes
Updating the Service class
The Service is a class responsible for configuring the service we will use here, which can be of several types..
Start by opening the ScreenBeagleService.kt class (name chosen for the BFF setup tutorial, but you can rename it if you like).
Once that’s done, copy the line below and paste it into the ScreenBeagleService class:
fun createServerDrivenComponent() = SingleComponentBuilder().createButton()
import com.example.bff.builder.SingleComponentBuilder
import org.springframework.stereotype.Service

@Service
class ScreenBeagleService {
    fun createServerDrivenComponent() = SingleComponentBuilder().createButton()
}
Updating the Controller class
Now you will need to update the controller and the component and they will be ready to be sent to the frontend, in case there is a request.
In the controller class, you must call the service we just configured and define the URL that will be the endpoint of the created component.
To do this, follow the steps:
- Open the
ScreenControllerclass. This name was given to this class in the tutorial, it is responsible for exposing the components via REST API. - Add another function to this class (Remembering that the class already has some functions implemented).
- Annotate the function with
@GetMapping()and list the(URL Relative Path)endpoint that identifies this component.
See how the configuration should look:
@RestController
class ScreenController(
        private val screenBeagleService: BeagleService
) {

  @GetMapping("/serverDrivenComponent")
  fun getServerDrivenComponent() = screenBeagleService.createServerDrivenComponent()
}
Test the endpoint
Now that the component is created and configured, you should test the endpoint and check the JSON response. To do this, perform these actions:
- Start your application on the backend (Remember that your application Backend is configured to present responses on a localhost).
- Open a browser and access the endpoint: http://localhost:8080/serverDrivenComponent
You should receive the JSON below:
{
  "_beagleComponent_" : "beagle:button",
  "text" : "I'm a server-based button",
  "onPress" : [ {
    "_beagleAction_" : "beagle:alert",
    "title" : "Server-driven Button",
    "message" : "I'm a server-based button",
    "labelOk" : "OoooK"
  } ]
}
Button(
    "I'm a server-based button",
    onPress = listOf(
        Alert(
            "Server-driven Button",
            "I'm a server-based button",
            labelOk = "OoooK"
        )
    )
)
Step 3: Display the server-driven component
After the previous two steps, your component is ready. Now you just need to display it on a native screen.
For Android you must use a frame layout to “receive” the BFF component and thus display it on a native Android screen.
How to receive a server driven component on Android?
- Create a
.XMLfile as in the example below, which represents a native screen with a title and a frame layout. In this example we define this page as ourMainActivity - Then copy and paste the configuration below:
<?xml version="1.0" encoding="utf-8"?>
<androidx.constraintlayout.widget.ConstraintLayout
    xmlns:android="http://schemas.android.com/apk/res/android"
    xmlns:app="http://schemas.android.com/apk/res-auto"
    xmlns:tools="http://schemas.android.com/tools"
    android:layout_width="match_parent"
    android:layout_height="match_parent"
    tools:context=".MainActivity">

    <TextView
        android:id="@+id/tv_title"
        android:layout_width="wrap_content"
        android:layout_height="wrap_content"
        android:layout_marginTop="100dp"
        android:text="Sou componente Nativo!"
        android:textSize="30sp"
        app:layout_constraintEnd_toEndOf="parent"
        app:layout_constraintStart_toStartOf="parent"
        app:layout_constraintTop_toTopOf="parent" />

    <FrameLayout
        android:id="@+id/fr_server_driven"
        android:layout_width="match_parent"
        android:layout_height="40dp"
        app:layout_constraintTop_toBottomOf="@id/tv_title"
        android:layout_marginTop="40dp"
        />

</androidx.constraintlayout.widget.ConstraintLayout>
loadView function as listed in the following example.What is a loadView?
The loadView method is responsible for loading a Beagle content into a native view.
The loadView structure is:
| Attribute | Type | Required | Definition |
|---|---|---|---|
| activity | AppCompatActivity/Fragment | ✓ | Defines the activity or fragment we are using loadview |
| RequestData | RequestData | ✓ | Sets the parameters for calling the remote screen |
| listener | OnServerStateChanged = (serverState: ServerDrivenState) -> Unit | Defines the listener that configures callbacks for screen states |
Here’s how to do this:
- Open the activity where you want to display your native screen.
- Create a FrameLayout type variable that must receive the FrameLayout View we just configured.
- Now just call the
.loadViewfunction from theframeLayoutvariable as in the code below
val frameLayout = findViewById<FrameLayout>(R.id.fr_server_driven)
frameLayout.loadView(this, RequestData("/serverDrivenComponent"))
And that’s it: just start your application and you’ll see the screen below:
Click on the button and you will see the function in that component is implemented and functional, Beagle displays all components like they are native.
Feedback
Was this page helpful?
Glad to hear it! Please tell us how we can improve.
Sorry to hear that. Please tell us how we can improve.