Custom component and Widget
How to create components and widgets?
To create a component and register it in the Backend it is necessary to create a Widget
What is the difference between a component and a widget?
- A component holds all the logic referring to the component’s functionality. In our example, this is where the logic for increasing the text size will be. This information will be implemented on the front end.
- A widget is the structure through which we will pass information to our component from the backend, such as the text referring to the title and buttons. This is the one we declare in the hierarchy of a screen in the backend. It is also used to register the component and its signature on Beagle (its contract, properties, etc., both in the backend and frontend).
In the example below, we will create a custom component and demonstrate how to register it in the backend. This component will consist of:
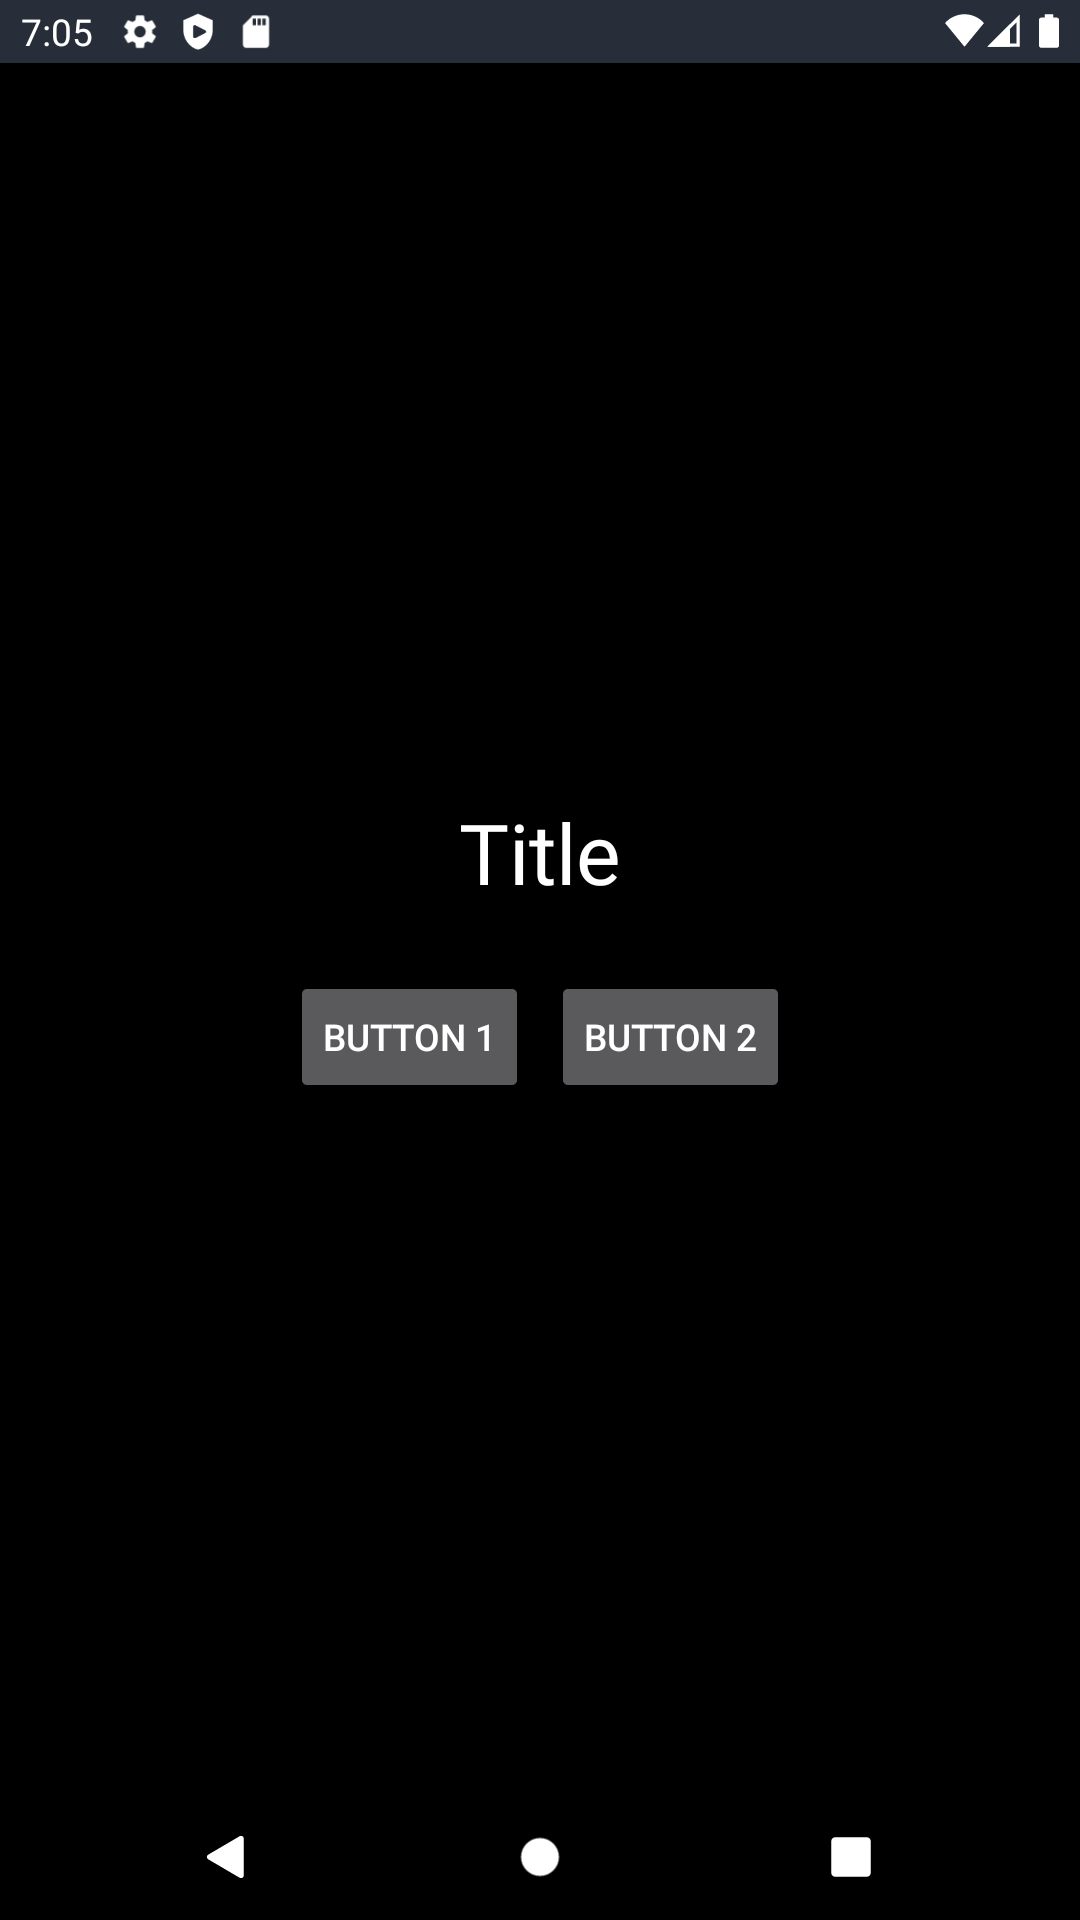
- One text and Two buttons (this same example exists in the front end for testing)
The buttons in this component are responsible for increasing and decreasing the size of the title text in the component and it will look like the following image:
@RegisterWidget and some extensions like the Widget class. Below we will show the when and how.Creating the widget
To create a widget:
- Create a class in the backend and name it
"CustomWidgetTitleIncrease" - Apply the
@RegisterWidgetannotation to this class; - Extend this class using the
Widgetinterface
import br.com.zup.beagle.annotation.RegisterWidget
import br.com.zup.beagle.widget.Widget

@RegisterWidget
class CustomWidgetTitleIncrease(
    val title: String,
    val buttonTitle1: String,
    val buttonTitle2: String
) : Widget()
Once configured, it is now possible to use this component and set the properties listed above from the backend.
Create and configure the component in Front end
When creating the component on the front end, it will also be necessary to create a Widget with the same name as the one used on the backend. This will register it on the frontend and allow it to receive the information sent from the backend.
- Click this link to see how to create this component (and all its logic) on an Android front end.
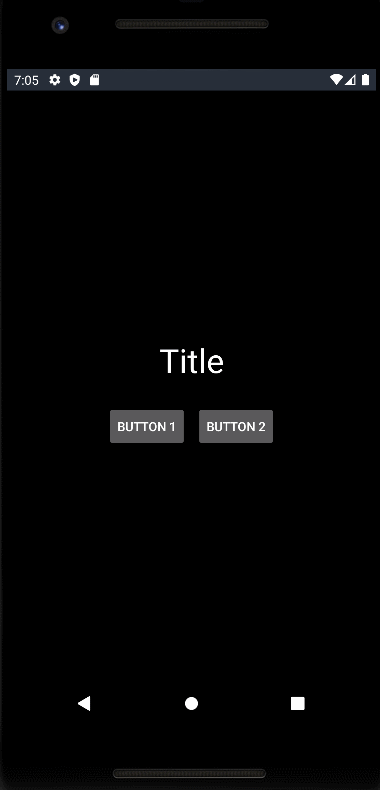
After implementing it on the front, just run your application and it will be displayed as in the image below:
Feedback
Was this page helpful?
Glad to hear it! Please tell us how we can improve.
Sorry to hear that. Please tell us how we can improve.