Installing Beagle
Before you get started, the steps below are for JVM languages.
For other languages, your server needs to serve JSON following Beagle’s API. Also, check out the mechanisms of each platform.
Requirements
Before you integrate Beagle into your application to run it on the backend, check if you have already installed all the current versions of the following programs:
- JDK 8+ language (Kotlin 1.3+ is recommended)
- Maven 3+
If you already have updated all the programs above, then just go to the following instructions.
Installation
Step 1: Create a micro-service
When you create a microservice, it’s recommended to use your team’s established mechanisms. If that’s not your case, just follow the configuration steps below.
For a simple setup, you can choose between 2 frameworks to create your BFF:
Micronaut
A modern, JVM-based, full-stack framework for building modular, easily testable micro-service and serverless applications.
Spring
Spring makes programming Java quicker, easier, and safer for everybody. Spring’s focus on speed, simplicity, and productivity has made it the world’s most popular Java framework.
After choosing the framework you’ll work with, proceed with the configuration below:
Creating a micro-service
Micronaut <= 1.3
Screenshot-spring-boot-grpc-example As described on Micronaut’s quick start, create your application through a CLI tool with this command:
$ mn create app bff --build maven --lang kotlin
This will create an executable Micronaut project using Kotlin and Maven in a directory called BFF. Open this project on the chosen IDE and follow the steps to set the dependencies:
Micronaut >= 2.0
If you want to use Micronaut 2.0, you can use the new website, very similar to Spring.
- Click on the link below to download a zip file of the project with the image’s option below: Micronaut Launch para Beagle Micronaut Starter.
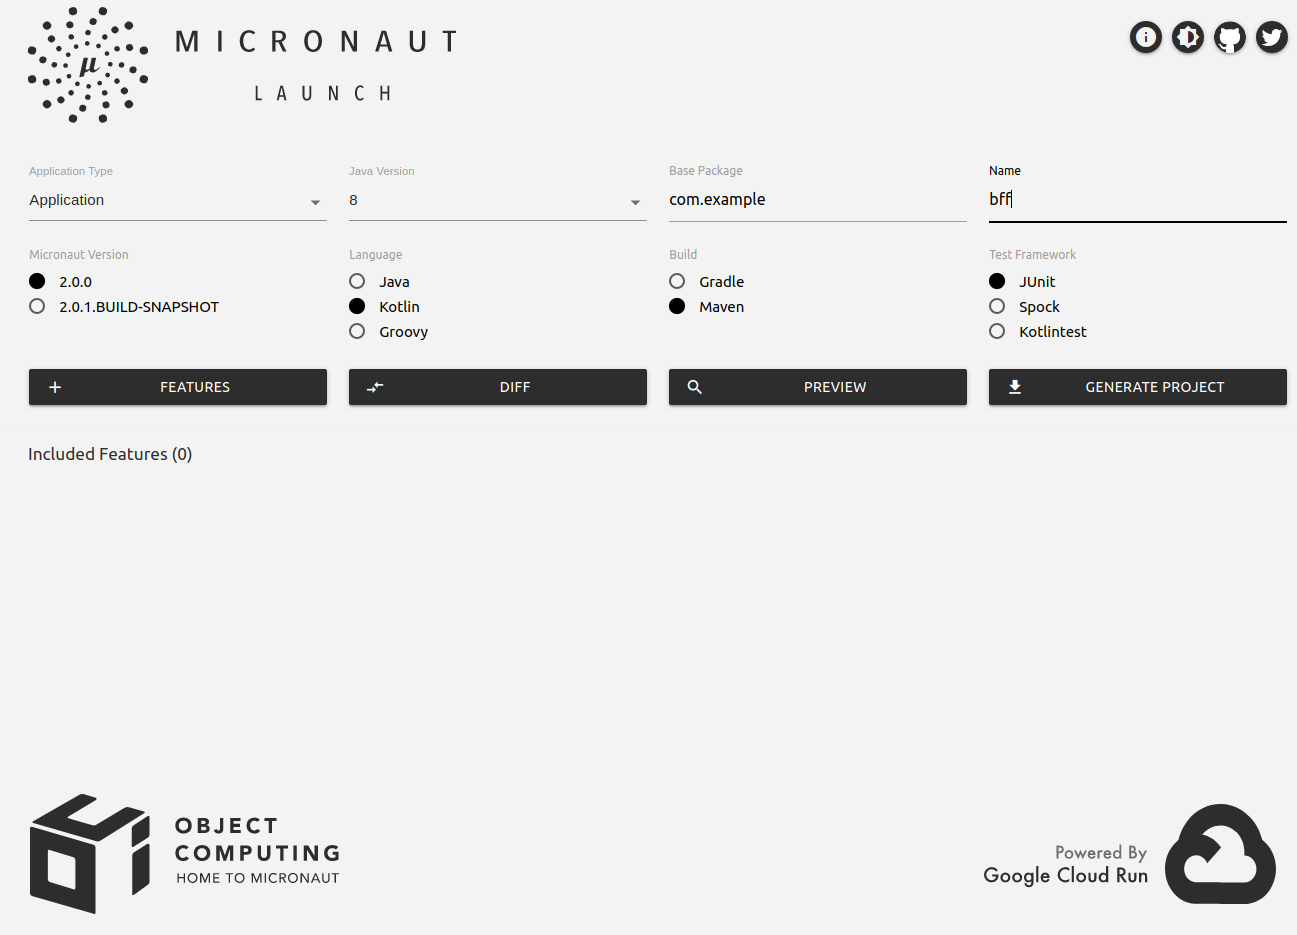
- This configuration uses:
- Kotlin with Maven for
Java 8(compatible with this version); Junitlike the unit tests library.
- Kotlin with Maven for
- Unzip the file and open the extracted folder in your IDE.
Create a micro-service
Use Spring’s Initializr to create a project for your micro-service. Click the following link, Spring Initializr for Beagle Spring Starter, to get recommended settings.
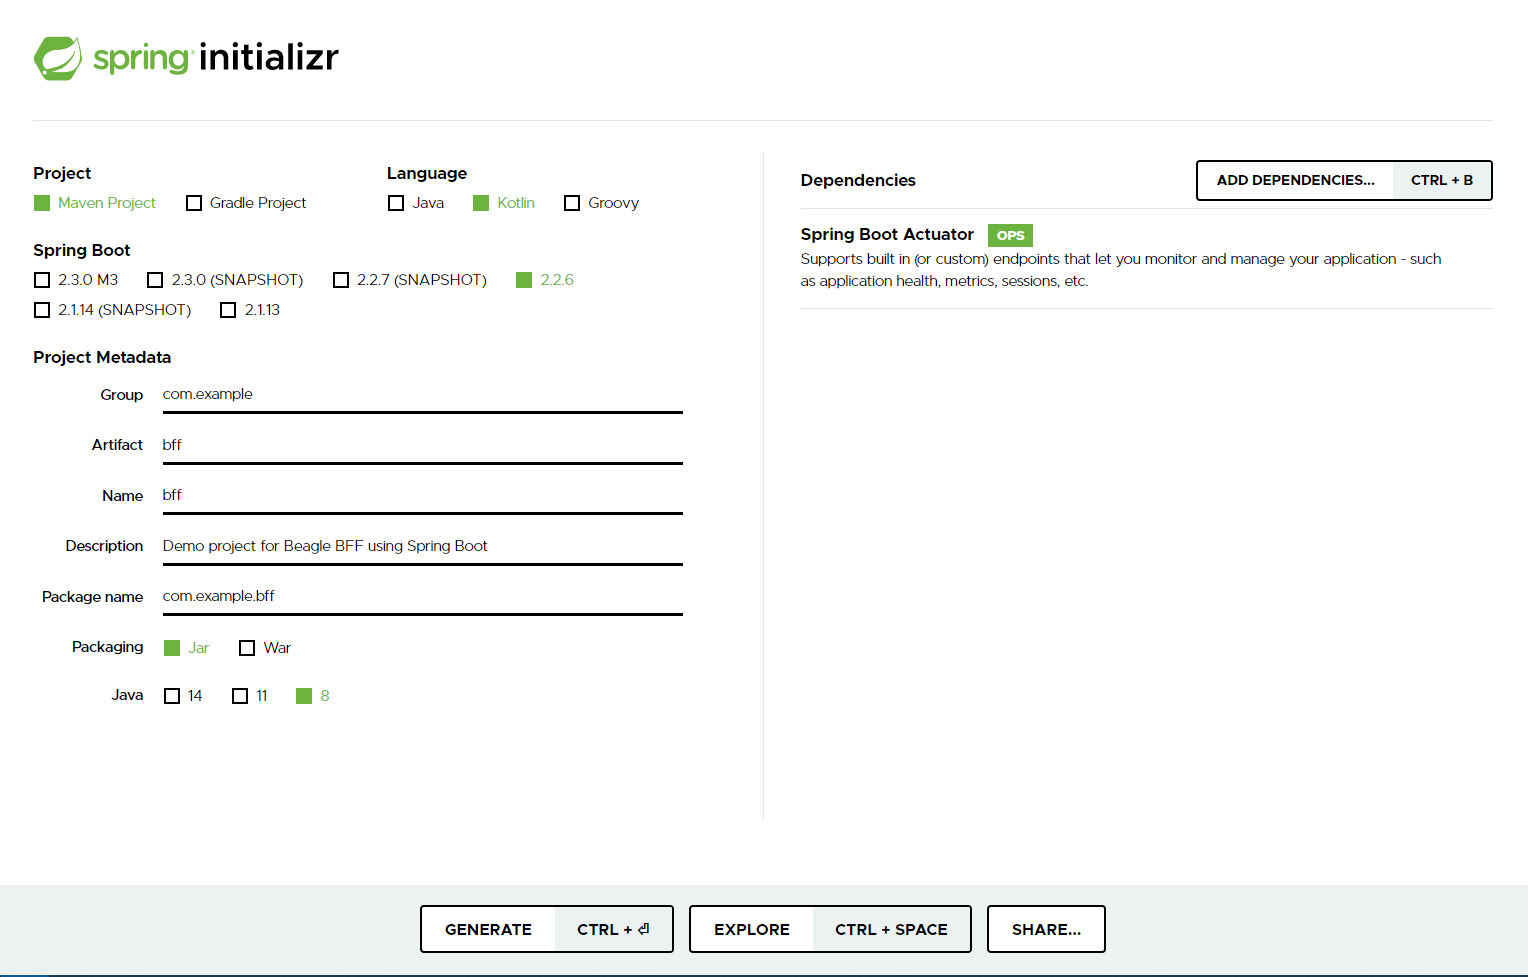
- The settings are:
- Maven dependency manager;
- Kotlin with JAR packaging and Java 8+ compatibility;
- Spring Boot Actuator dependency;
- Click
GENERATEto download a zip file containing your project; - Unzip the file and open the extracted folder in your IDE.
Step 2: Include starter dependency
Add the dependency for the Beagle starter to your backend. In that case, the framework you chose will define the dependency’s name (artifactId) should be done.
Click on the tab of the framework you’re using and follow the steps to continue the configuration:
Additional Requirements:
This starter also configures version 1.3.3 of micronaut-runtime module in your BFF
- Beagle’s latest release version is:
The following tutorial is for Beagle iOS version: v2.1
Maven configuration
To follow this requirement, you just have to add the dependency below to your pom.xml.
<dependency>
	<groupId>br.com.zup.beagle</groupId>
	<artifactId>beagle-micronaut-starter</artifactId>
	<version>${beagle.version}</version>
</dependency>
Gradle configuration
For projects configured with Gradle, just add the starter dependency in your build.gradle or build.gradle.kts file.
dependencies {
  implementation("br.com.zup.beagle:beagle-micronaut-starter:${beagle.version}")
}
Additional Requirements:
This starter also configures version 2.2.5 of spring-boot-starter-web module in your BFF
- Beagle’s latest release version is:
The following tutorial is for Beagle iOS version: v2.1
Maven configuration
To follow this requirement, add the dependency below to your pom.xml.
<dependency>
	<groupId>br.com.zup.beagle</groupId>
	<artifactId>beagle-spring-starter</artifactId>
	<version>${beagle.version}</version>
</dependency>
Gradle configuration
For projects configured with Gradle, just add the starter dependency in your build.gradle or build.gradle.kts file.
dependencies {
  implementation("br.com.zup.beagle:beagle-spring-starter:${beagle.version}")
}
Insert the Beagle’s release version on the place of${beagle.version}, in other words, put the Beagle’s version highlighted in blue badge above without the v character.
For example:
-
ext.beagle.version = "1.5.1"
Remember to always check if you’re using the latest version of Beagle. To see this information, you just have to pass your mouse above the version number. After that, sync your machine.
Well done, your initial configuration is ready to be used!
You can check a screen or server-driven component to test the BFF.
Spring Boot has a known problem involving WebMvcConfigurationSupport. It may replace other configurations, including the ones in Beagle’s Spring Starter.
If you face this problem, you should replace it forWebMvcConfigurer.
To see more about it, access this issue on Github.
The annotation@EnableWebMvc can have the same problem, which means you should also replace it.
You can see more of how to use Beagle on the backend or how to test a BFF with server-driven components.
Next Steps
In this section, you have just done Beagle’s** initial installation** on your application!
Now, to keep configuring Beagle:
👉Go to initial configurations to enable the use of Beagle on your Web project.
👉 If you want to go straight to practice, access our tutorial to create a project from scratch.
Feedback
Was this page helpful?
Glad to hear it! Please tell us how we can improve.
Sorry to hear that. Please tell us how we can improve.